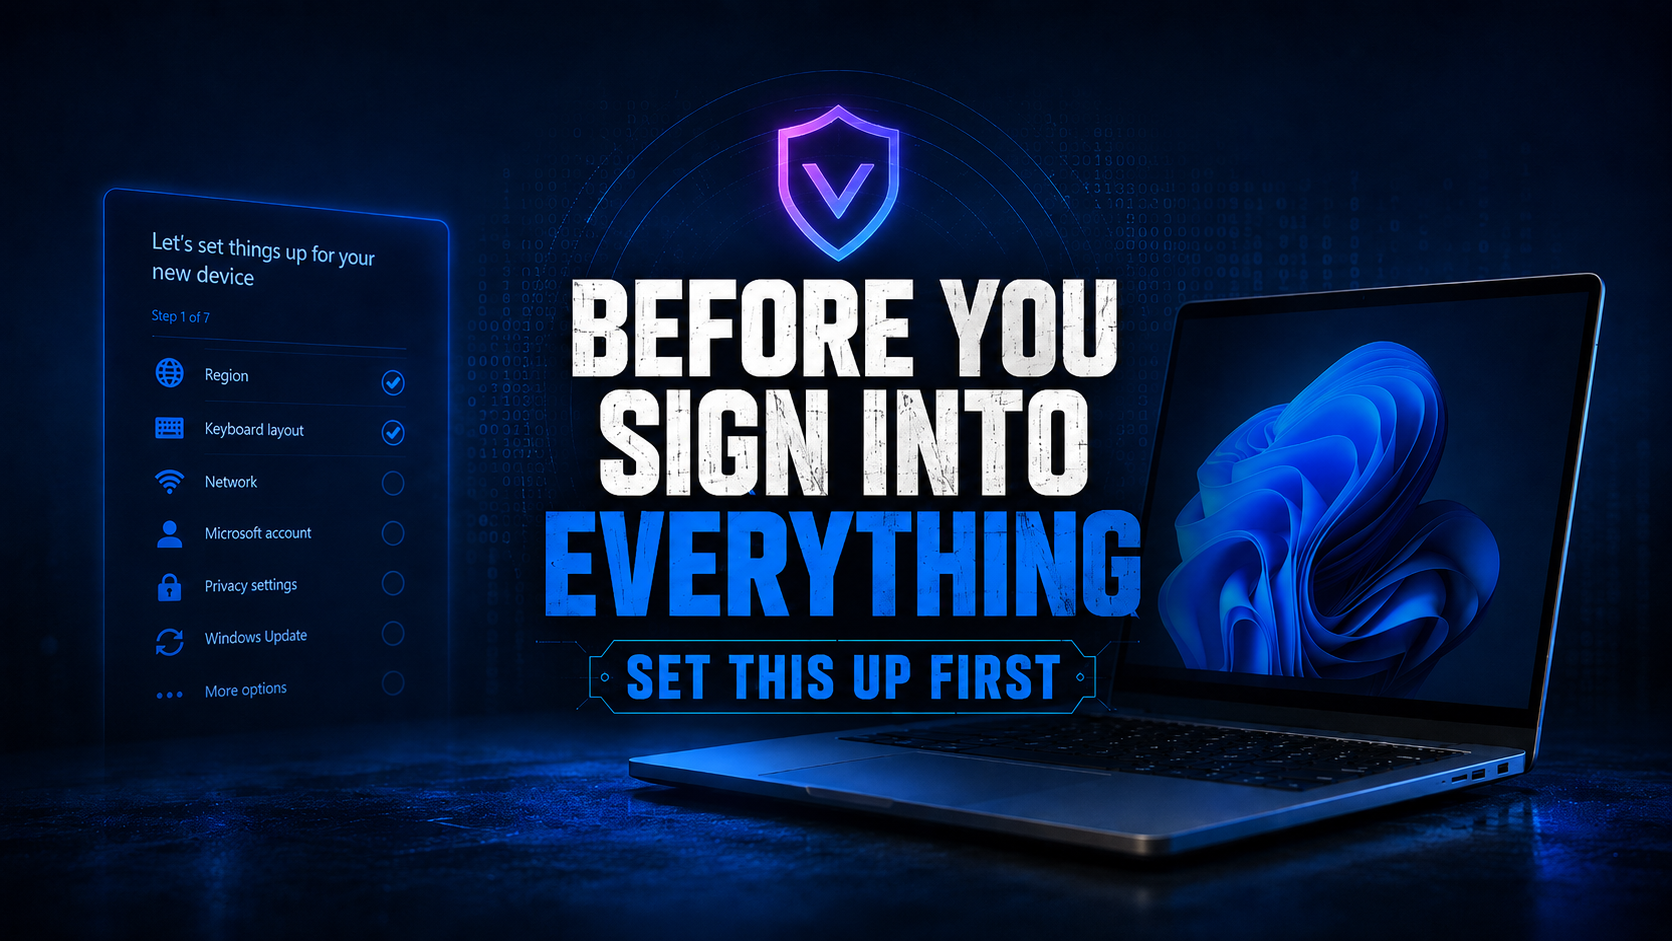
Things to Do Before You Use a New Windows Laptop
Because signing into everything before checking the locks is how a fresh laptop becomes a fresh problem.
VeriSecure Beginner Cyber Basics
New laptop, fresh start.
Most people open the box, connect to Wi-Fi, and immediately start signing into everything.
Email. Banking. Shopping. Cloud storage. Saved passwords. The whole digital junk drawer.
And I get it. You bought the laptop because you want to use it, not spend your afternoon digging through Windows settings like Microsoft hid the security options in a filing cabinet labeled “miscellaneous nonsense.”
But here’s the problem: out of the box, your Windows laptop is usually set up for convenience first. Security tools are there, but you still need to check a few things before you load your entire life onto it.
Picture this: you sign into your email, your browser syncs saved passwords, your cloud files start downloading, and then you realize the laptop still has junk apps, updates pending, no restore point, and encryption turned off.
That is not a fresh start. That is moving into a new house before checking whether the front door locks.
Let’s fix the basics first.
Quick Reality Check: Still on Windows 10?
If you are still using Windows 10, Windows 8.1, Windows 7, or anything older, check your upgrade options before you keep using that laptop for personal accounts.
Windows 10 support ended on October 14, 2025. Older Windows versions are already out of regular support. Your computer may still turn on, but that does not mean it is protected the way it should be.
1. Do Not Sign Into Everything Right Away
Before you connect your email, banking apps, shopping accounts, cloud storage, or password manager, pause.
Why? Because once you sign in, your laptop may start syncing files, passwords, browser data, email, and account settings.
That is convenient after the laptop is secured.
Before that, it is like unpacking your valuables before checking whether the windows close.
Do this first: finish the basic security setup below, then sign into the important stuff.
2. Create a System Restore Point
A restore point is your undo button before you start changing settings, removing apps, or cleaning up the laptop.
If you accidentally change something that breaks a feature, you may be able to roll the system back to an earlier working state.
Because Windows settings sometimes feel like they were named by a committee that actively avoids plain English, this is worth doing before you start poking around.
3. Change Your Windows Password
A weak password makes it easier for someone to access your local files, apps, and saved data.
Use a strong, unique password that you are not reusing anywhere else.
Reused passwords are how one leaked account turns into a full tour of your personal life. Nobody needs that.
Important: If you sign into Windows with a Microsoft account, changing that password may update the password for your Microsoft account across other linked services and devices.
4. Create a Standard User Account
Your first account on a new laptop may be an administrator account. That means it can install programs, change system settings, and make bigger changes to the device.
That is useful when you are setting things up.
It is not ideal for everyday browsing, email attachments, random downloads, and “why did this website just ask me to install something?” moments.
A standard user account gives you a safer everyday account with fewer permissions. It does not make you invincible, but it gives malware less room to throw a tantrum if you click the wrong thing.
5. Check Windows Updates and Keep Them On
Updates are annoying. Nobody is pretending otherwise.
But they also patch security holes that attackers may already know about.
Skipping updates is like seeing a hole in the fence and deciding it adds character.
Go into Windows Update and make sure updates are not paused. Then check for updates and turn on updates for other Microsoft products.
Learn how to turn on automatic updates on a Windows laptop here →
6. Enable BitLocker Encryption
If your laptop gets lost or stolen, encryption helps protect the data on the drive so someone cannot just open it up and browse through your files.
BitLocker is one of those settings that feels boring right up until the day you desperately need it.
Do not skip this: save your BitLocker recovery key somewhere safe. If you lose the recovery key, you may lock yourself out of your own data, which is exactly the kind of nonsense we are trying to avoid.
7. Register Your Device and Enable Find My Device
Do not wait until your laptop is missing to figure out whether you can track it. That is not the moment for a settings scavenger hunt.
- Register the device: Registering with the manufacturer can help with warranty support, repairs, recalls, and device records.
- Enable Find My Device: Go to Settings → Privacy & security → Find my device and turn it on.
Find My Device can help you locate your laptop and lock it through your Microsoft account if it goes missing. It needs your Microsoft account, location settings, and an internet connection to be useful.
Is it perfect? No. But it is better than realizing after the laptop disappears that you never turned the feature on.
8. Check Windows Security Settings
Windows includes built-in antivirus, firewall, and reputation-based protection.
That does not help much if something is turned off, outdated, or quietly throwing a warning in the Security dashboard while everyone pretends not to see it.
Open Windows Security and make sure the main protections are active.
Learn which built-in Windows security settings to check here →
9. Add Multi-Factor Authentication
Multi-factor authentication, or MFA, makes your accounts harder to break into if your password is stolen.
And passwords get stolen all the time. Not always because you did something wrong. Sometimes because companies store data like they learned cybersecurity from a damp napkin.
MFA adds another step, like an authenticator app code, push approval, or security key.
Text message codes are better than nothing, but app-based MFA or a security key is usually stronger when available.
10. Remove Unnecessary Apps and Bloatware
Bloatware is not just annoying.
It can slow down your laptop, run in the background, collect data, throw pop-ups at you, and sometimes create security problems if the software is poorly maintained.
If you do not use it, do not let it live rent-free on your new machine.
Uninstall the junk before it becomes part of the furniture.
Small Educational Note: Security Works Best in Layers
No single setting protects everything.
A strong password helps. MFA helps. Updates help. BitLocker helps. A standard user account helps.
The point is not to make your laptop impossible to hack. The point is to stop making it easy.
New Laptop Security Checklist
- Do not sign into every account right away.
- Create a system restore point.
- Change your Windows password.
- Create a standard user account for everyday use.
- Check Windows Update and make sure updates are not paused.
- Turn on BitLocker encryption and save the recovery key.
- Register the device and enable Find My Device.
- Check Windows Security settings.
- Add MFA to important accounts.
- Remove bloatware and apps you do not use.
- If you are still on Windows 10 or older, check your upgrade options.
The Takeaway
This is not about being paranoid.
It is about not handing your personal data to a brand-new laptop before you have checked the locks.
Take the extra few minutes now. Create the restore point. Check updates. Turn on encryption. Set up MFA. Remove the junk.
Secure the laptop first. Then sign into your life.