How to Create a System Restore Point on Windows
Before you uninstall apps, change settings, or let Windows “help,” give yourself a way back.
VeriSecure Beginner Cyber Basics
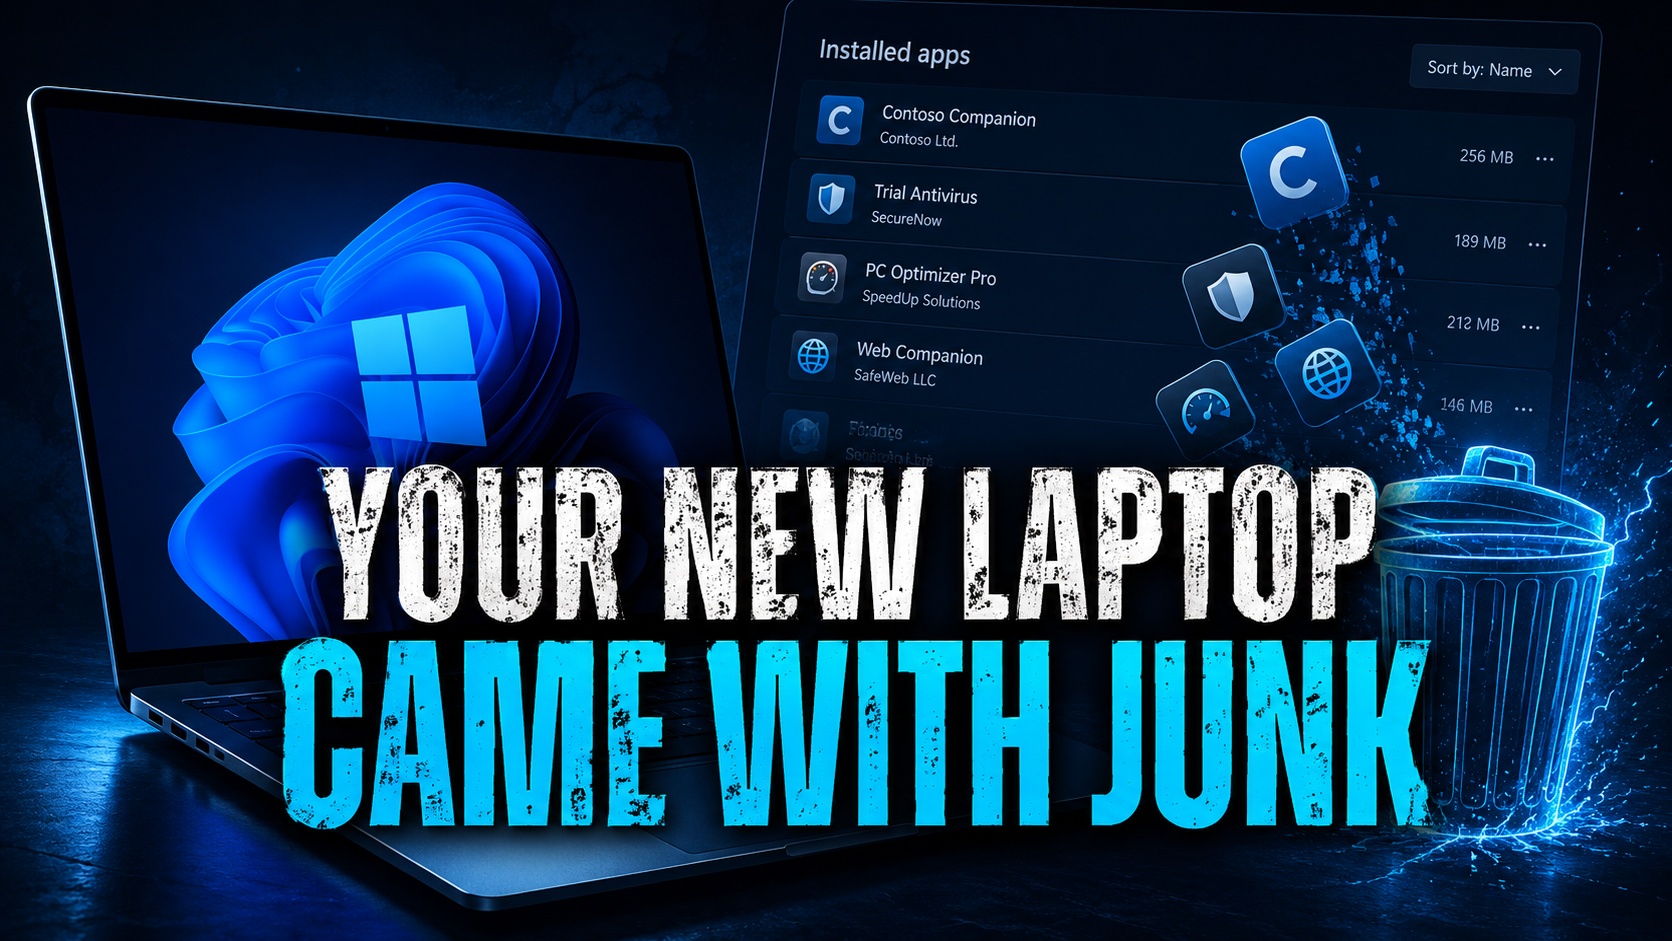
You are about to clean up your new laptop.
Maybe you are removing bloatware. Maybe you are installing something new. Maybe you are clicking around in settings because Windows hid one normal option behind seven menus, because apparently that builds character.
Before you start making changes, do one small thing first:
Create a system restore point.
A restore point gives Windows a snapshot of important system settings and files. If something goes sideways, you may be able to roll your system back to that earlier point.
It is not exciting. It is not flashy. It is also exactly the kind of boring safety step you will wish you had taken if your laptop starts acting possessed after an install or cleanup.
What a System Restore Point Does
A restore point can help undo certain system changes.
It can help if a recent install, driver update, system setting, or cleanup causes problems.
A restore point can help with things like:
- system settings that changed
- recent driver or software issues
- problems after installing or removing apps
- Windows acting strange after a change
Basically, it gives you a “go back to before I touched this” option. Which is useful, because sometimes the problem is not you. Sometimes software is just built like a junk drawer with a login screen.
Important: This Is Not a Full Backup
A restore point is not the same thing as backing up your files.
System Restore is meant to help roll back system settings and certain changes. It is not a replacement for saving copies of your documents, photos, downloads, or important files somewhere safe.
Translation: use restore points for system changes. Use backups for files you would be furious to lose.
How to Create a System Restore Point
This takes a few minutes, and yes, the window looks like it wandered in from an older version of Windows. That is normal.
- Click Start.
- Type Create a restore point.
- Select Create a restore point from the search results.
- Under Protection Settings, select your system drive.
- Look for the drive labeled (System), usually next to the C: drive.
- Click Configure.
- Select Turn on system protection.
- Click OK.
- Click Create.
- Enter a simple name, like Before app cleanup or Before installing software.
- Click Create again.
When Windows finishes, you should see a message that the restore point was created successfully.
That is your safety net. Not a miracle. Not a backup. But a very useful “undo” option for system changes.
Visual Tip
If you are adding screenshots to this guide, the most helpful ones are:
- the Windows search result for Create a restore point
- the System Properties window
- the Protection Settings list showing the C: drive
- the Configure button
- the Turn on system protection option
- the Create button
- the System Restore button
Screenshots help because Windows menus do not always look exactly the same across devices and versions. Which is fun, if your definition of fun is “where did they move the button this time?”
Before You Restore: Read This First
System Restore may take several minutes to complete. Your laptop may restart during the process.
Do not turn off your laptop while System Restore is running.
I know staring at a progress screen feels suspicious. Let it finish anyway. Interrupting a restore is how you turn a small problem into a bigger one with extra attitude.
How to Restore Your System
If something goes wrong, you can try rolling Windows back to the restore point you created.
- Click Start.
- Type Create a restore point.
- Open Create a restore point.
- Click System Restore.
- Click Next.
- Select the restore point you want to use.
- Click Next.
- Click Finish.
Your laptop will restart and begin the restore process.
Let it run. Do not shut the laptop off halfway through because the screen looks boring. Boring is good here. Boring means Windows is working.
What a Restore Point Does and Does Not Do
A restore point can:
- restore certain system settings
- undo some recent system changes
- help fix issues caused by installs, drivers, or updates
- roll Windows back to an earlier working state
A restore point will not:
- replace a full backup
- protect every personal file
- save copies of all your documents, photos, downloads, or folders
- guarantee every problem can be fixed
Microsoft says System Restore is designed to undo recent system changes without affecting personal files, but you should still back up important files separately. Because “should be fine” is not a backup plan.
When You Should Create a Restore Point
Create a restore point before making changes that could affect how Windows behaves.
Good times to create one:
- before uninstalling apps
- before removing bloatware
- before installing new software
- before updating drivers
- before changing system settings
- before trying a fix you found online from someone named TechWizard1978
It takes a few minutes. That is much less painful than trying to remember what you changed after your laptop starts acting weird.
Quick Restore Point Checklist
- Create a restore point before removing apps or changing system settings.
- Look for the drive labeled (System), usually next to C:.
- Turn on system protection if it is not already enabled.
- Name your restore point something clear, like Before app cleanup.
- Do not turn off your laptop during System Restore.
- Remember: restore points help with system changes, but they are not full file backups.
The Takeaway
A restore point is one of those boring little steps that feels unnecessary right up until something breaks.
Create one before cleanup, installs, driver updates, or system changes.
Give yourself a way back before Windows gives you a reason to need one.